
When we bought a puppy about a year ago we did not have the facilities that a typical dog owner should have home. Particularly useful is a dog kennel so you can for instance hang up your wet laundry in peace. Also you create a refuge for the dog. A dog kennel is often recognized as a safe space for your furry friend.
As always there are many roads leading to Rome. I would like to share how we have done it. Buying wasn't really an option- way too easy! Moreover, one is under the impression to be able to save money on the D.I.Y. side of things.
- We dug about 60 cm to 1 m into the ground. The ditch was about 30 cm to 60 cm wide.
- Then we plunged concrete blocks into the ground. They should rest upon a bed of sand or gravel. We used gravel and some old concrete plates making it easier to level the whole construction later. In this step it is handy to use a cord in order to get 90° angles and straight lines.
- In the third step we connected the concrete blocks w/ long planks (120 mm x 45 mm) creating the frame for the kennel just a few centimeters above the ground. Important to mention is that our concrete blocks feature a post anchor optimized for 45 mm. Before fastening the planks to the concrete blocks with screws it is important that the frame is leveled. It can be necessary to add or remove material under the concrete blocks if you do not have adjustable post anchors. In our case we tried to hoist or lower the concrete blocks and only for the last 1 cm to 2 cm we shifted the planks inside the post anchors.
- Next up you raise the vertical posts. Our construction utilized 120 mm x 28 mm planks. One could argue that these posts are maybe a bit to puny. The solution is to double them if deemed necessary i a certain place. Anchorage w/ the lower frame was achieved by a L shaped cutout and long screws from the inside of the kennel.
- For the sake of stability we created a second frame connecting all the tops of the posts. 120 mm x 28 mm was used again because it was cheap. When the planks were to short they would have been connected w/ L shaped cutouts, wood glue and screws.
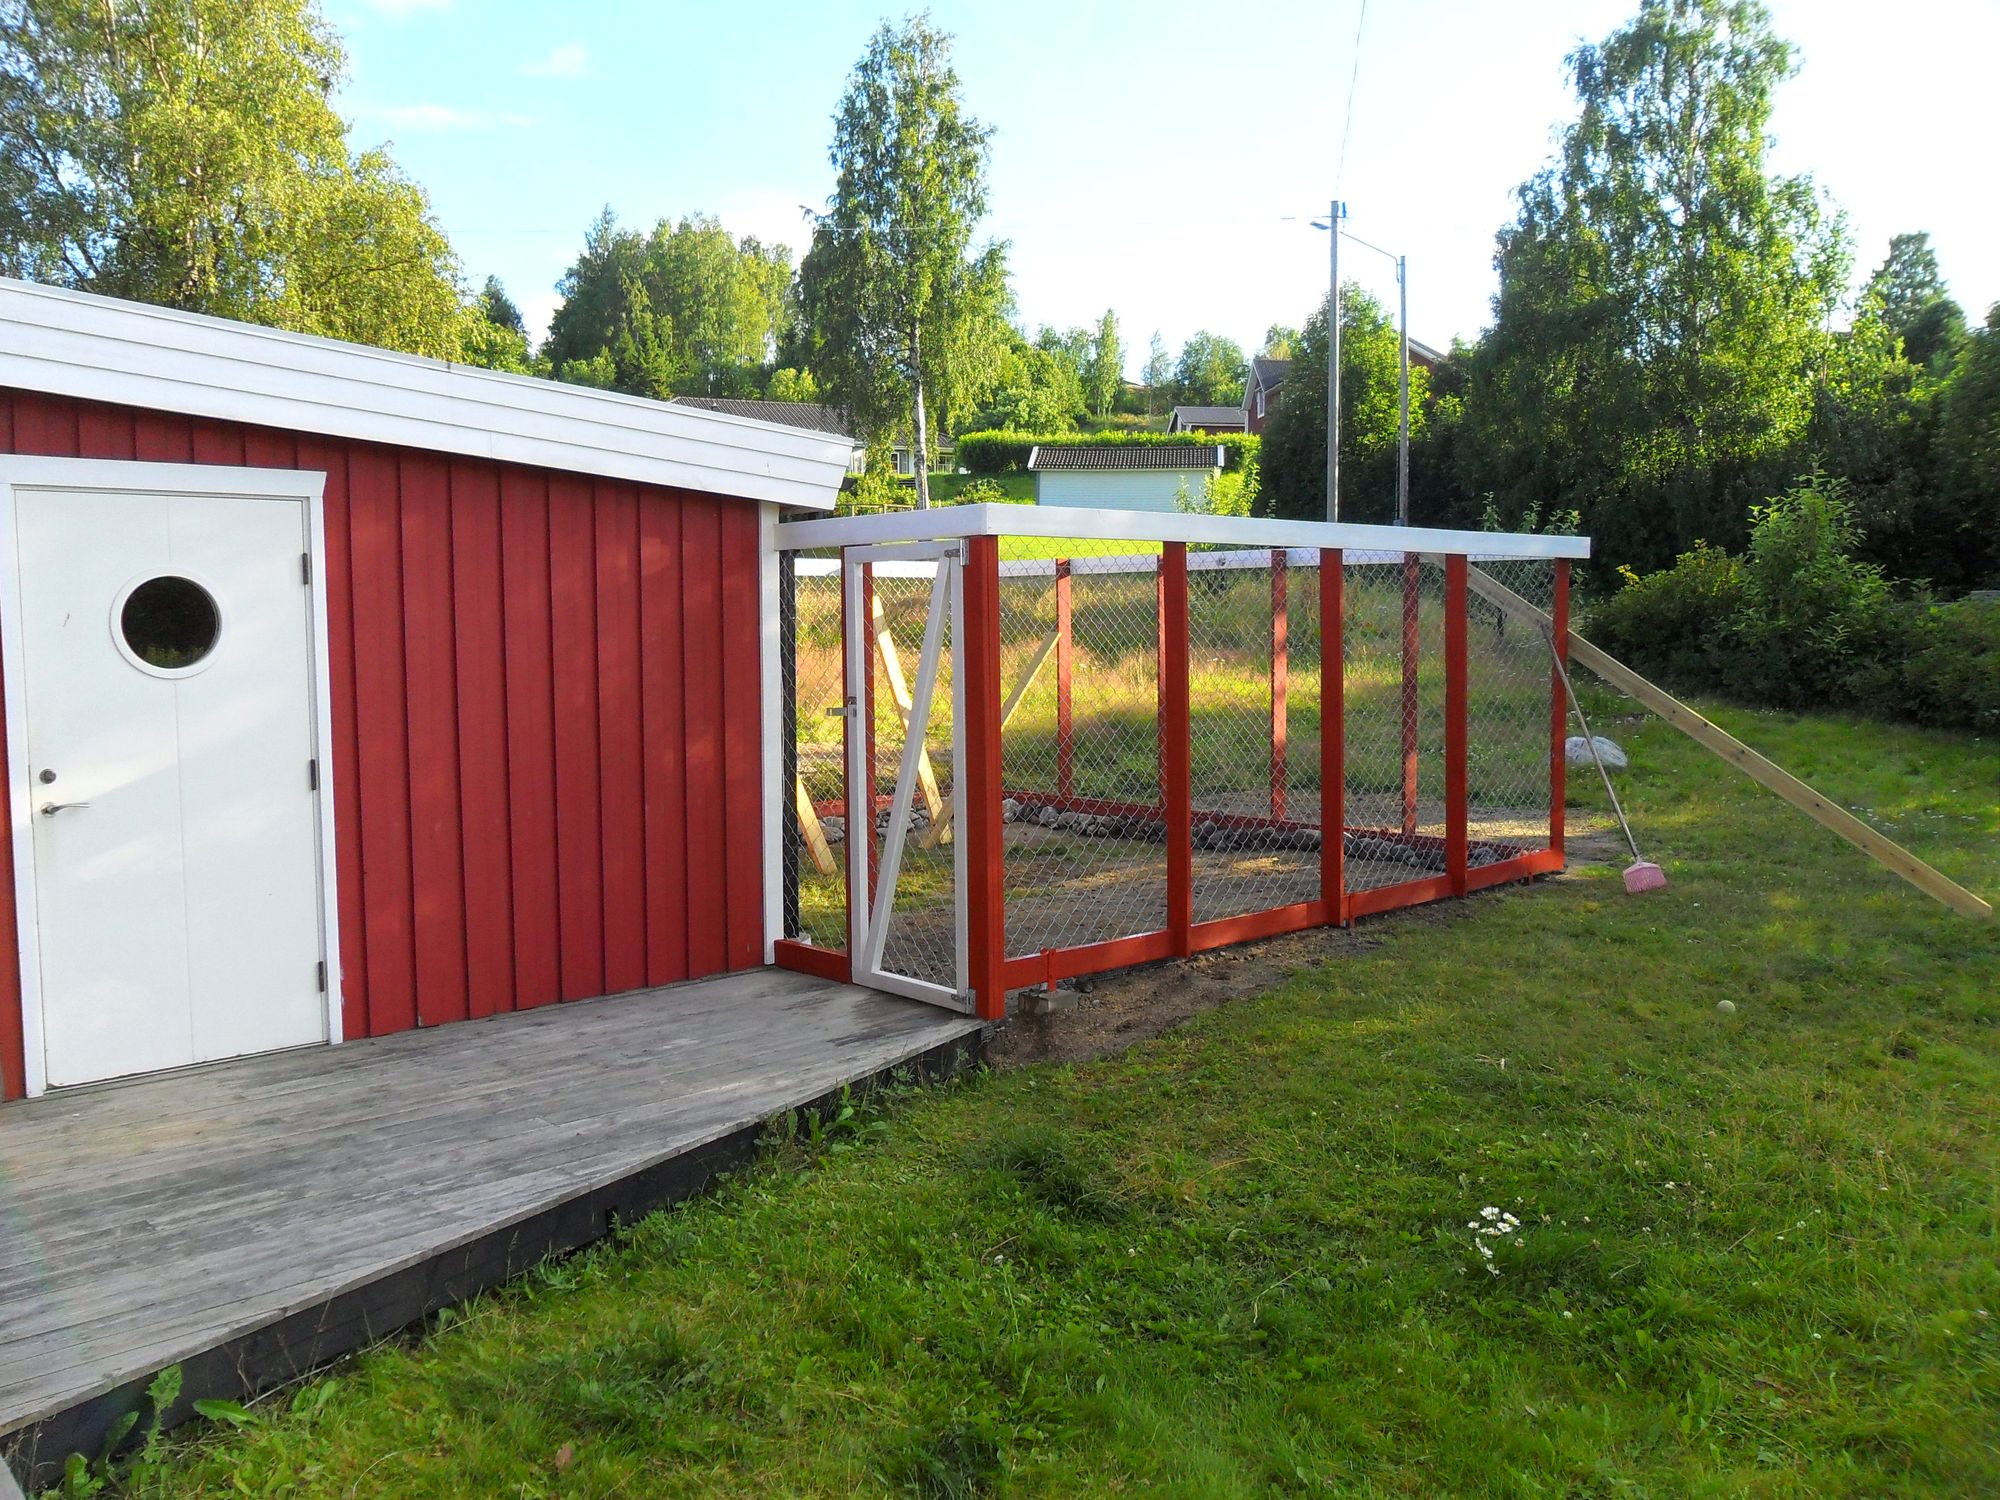
- In this step we designed a simple door and connected the kennel to the deck. Around the door we used some brackets and multiple planks on top of each other to get a sturdier construction.
- Painting. Some elements got colored in "Falu rödfärg" and others white. It is worth mentioning that all wood used in this project is pressure treated since the construction is exposed to a harsh and wet climate.
- Installing fence. We bought a 1.8 m chain wire fence for above the ground and laid a 0.5 m fence in the ground to make escape through dug tunnels impossible.
